How to Clean AC Condenser Coils (And Why It Matters)
Dirty outdoor AC coils make your AC work harder and cool worse. Step-by-step to clean them safely yourself in 30 minutes, and what NOT to do.
Quick answer: To clean AC condenser coils, shut off power at both the thermostat and the outdoor disconnect box, clear vegetation within 2 feet of the unit, vacuum loose debris with a soft brush attachment, then rinse with a garden hose on gentle spray, always from inside out. Let dry 30-60 minutes before restoring power. Never use a pressure washer (it bends the fins) or open the electrical compartment (capacitors hold dangerous charge).
The outdoor unit of your AC (the big box on the side of your house, called the condenser) has hundreds of thin metal fins that release heat from inside your house to outside air. When those fins are coated in cottonwood, grass clippings, leaves, dust, and grime, the AC can’t release heat efficiently, and your indoor air gets less cool. Cleaning the condenser coils is one of the most useful AC maintenance steps you can do without a service call (it sits alongside the other DIY tasks in our HVAC troubleshooting guide), and it takes about 30 minutes once a year.
Why This Matters
A heavily dirty condenser can reduce AC efficiency by 20-30%. That translates directly to:
- Higher electric bills
- AC that struggles to keep up on hot days
- Shorter compressor lifespan (a $1,000-3,000 part)
- More frequent professional service calls
Clean coils once a year and you avoid all of that.
What You’ll Need
- Garden hose with gentle spray nozzle (NOT pressure washer)
- Soft brush or AC fin brush (~$7 at home centers)
- Vacuum with brush attachment
- Coil cleaner spray (foaming type, about $10), optional but helpful for greasy buildup
- Screwdriver (Phillips or nut driver, match your unit’s screws)
- Work gloves
- Safety glasses
- Optional: a fin comb ($5) if any fins are bent
Step 1: Shut Off Power, TWICE
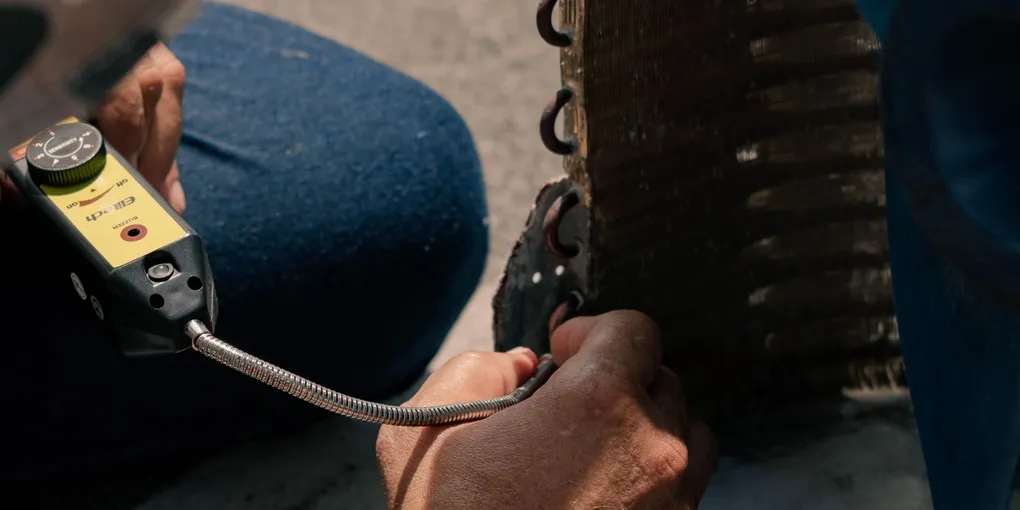
Cut the power first, fully. Those capacitors inside the outdoor unit store dangerous charge even after the switch comes off. Don’t open the electrical compartment.
- Turn off the AC at the thermostat.
- Flip off the AC breaker at your main electrical panel.
- Open the outdoor disconnect box, a small metal box mounted on the wall right next to the outdoor unit. There’s a pull handle, lever, or fuses inside. Flip the switch or pull the disconnect fully out.
- Verify by trying to start the AC at the thermostat, fan should not spin.
Skipping any of these is dangerous. The outdoor fan can start without warning if power is on.
Step 2: Clear Vegetation Around the Unit
The condenser needs at least 2 feet of clearance on all sides to breathe properly. Trim any branches, weeds, or grass within that radius.
While you’re at it, check the top, overhead branches, leaves, or anything that could fall into the unit should be cleared.
Step 3: Clean Large Debris
- Put on gloves and safety glasses.
- Pick out any sticks, leaves, or large debris caught in the fins by hand.
- Don’t push debris through the fins, pull it out the way it came in. Pushing through damages the fins.
Step 4: Vacuum the Fins
- Use the soft-brush attachment on your vacuum.
- Gently vacuum the outside of the fins on all sides.
- Pay attention to corners and the bottom, debris collects there.
This step removes the loose dust and grass before you wet anything. Wet-on-dirty just makes mud.
Step 5: Brush the Fins (Optional but Helpful)
For heavier buildup:
- Use a soft brush or specialized fin brush.
- Brush vertically along the direction of the fins. Never sideways, sideways bends fins.
- Brush gently. The fins are thin aluminum and bend easily.
Step 6: Rinse With a Garden Hose
The main event.
- Use a garden hose on a gentle spray setting (shower or fan setting on the nozzle, not jet).
- Stand on one side of the unit.
- Spray from the top down and from inside the unit outward when possible.
- The goal: push debris OUT of the unit, not deeper in.
If your unit has a removable top fan grille (some models), unscrew it carefully and lift it off, you can then spray downward through the open top, washing debris out the sides. Don’t disturb the wires running to the fan.
For very dirty units:
- Apply foaming coil cleaner per the can instructions.
- Let it dwell 10-15 minutes (it foams and bubbles dirt out).
- Rinse thoroughly with the hose.
Step 7: Let It Dry
- Allow the unit to air-dry for 30-60 minutes in the sun.
- Don’t apply power while the unit is still wet, moisture in the electrical compartment can cause shorts.
Step 8: Straighten Any Bent Fins (If Needed)
If you notice fins that are bent or flattened (often from kids, hose impacts, or hail), use a fin comb to straighten them.
- Choose the comb size matching your fin spacing (usually printed on packaging).
- Insert the comb at the top of a section of bent fins.
- Drag downward gently. The comb realigns the fins.
This step matters: each bent fin reduces airflow. A whole section of bent fins can be the difference between an efficient AC and one that struggles.
Step 9: Restore Power
- Insert the disconnect back into the outdoor box (or flip its switch on).
- Flip the AC breaker back on at the panel.
- Turn the thermostat back to cooling mode.
- Within a few minutes, you should hear the outdoor fan start and feel cold air at the vents. If the unit doesn’t come on, run through the AC not turning on checklist before calling a technician.
What NOT to Do
These will damage the coil:
Pressure washing. The single most damaging mistake. Pressure washer streams bend or flatten fins instantly, and they’re nearly impossible to straighten again. Garden hose with normal household water pressure is the only safe rinse.
Spraying from outside into the unit. Drives debris deeper. Always spray from inside outward, or top-down.
Using harsh chemicals (bleach, acid cleaners). Can corrode the aluminum fins. Stick to specialized coil cleaner or just plain water.
Brushing sideways across fins. Bends them. Always brush in the direction of the fins (usually vertical).
Opening the electrical compartment. Capacitors store dangerous voltage. Don’t touch internal electrical components without HVAC training.
Doing this with the unit running. Always shut off power. Always.
Frequently Asked Questions
How often should I clean my condenser coils? At least once a year in spring, before AC season. Twice a year if you have cottonwood trees or lots of pollen.
Can I clean indoor coils too? Yes, but it’s harder. The indoor evaporator coil is inside your air handler. Requires removing access panels and using a no-rinse cleaner. Most homeowners leave this to annual HVAC service.
Will cleaning the coils stop my AC from freezing up? It can help if dirty coils are restricting airflow. But if it freezes again after cleaning, refrigerant is more likely the cause, call a pro.
My fins are heavily damaged from hail. Can I fix them? A fin comb can straighten most bent fins. For severely flattened or torn sections, an HVAC tech has specialized tools, or the coil itself may need replacement.
Should I cover my AC in winter to keep it clean? A small breathable cover over just the top is fine. A full plastic cover traps moisture and accelerates corrosion. Most techs recommend no cover at all.
What coil cleaner should I use for outdoor condenser coils? Plain water from a garden hose handles light-to-moderate buildup: visible dirt, grass clippings, cottonwood fluff. For greasy film or heavy oxidation that water won’t cut, a foaming coil cleaner speeds things up. AC-Safe AC-922 (about $10 at most home centers) is widely available and works well. Apply it, let it foam and dwell 10-15 minutes per the directions, then rinse clean. For a professional-grade product, Nu-Calgon 4171-75 is what most HVAC techs stock in their service vans; it’s the same application process and available online. Skip anything acid-based or labeled for industrial chillers, those can corrode the thin aluminum fins on residential equipment.
Dirty coils are a slow-motion compressor failure. The fins clog, the heat exchange slows, and the compressor runs hotter and longer than it was built to. Thirty minutes with a garden hose once a spring keeps you off the $1,200 compressor-replacement track at year eight. Cheapest insurance in the house. While you’re out at the outdoor unit, also walk to the AC condensate drain line coming out of the foundation, a 60-second vacuum on that line is the other half of the May AC tune-up.