What Causes Bubbles in Drywall Paint? (And How to Fix Them)
Bubbles in fresh paint mean one of 6 things, moisture, bad prep, wrong primer, or heat. Read the bubble, fix the cause, then fix the paint.
Quick answer: Bubbles in drywall paint have six common causes: moisture trapped in the wall (most frequent, find any leak first), painting over glossy or dirty surfaces without scuff-sanding, no primer over patches or fresh drywall, paint drying too fast in heat or sun, latex applied over old oil-based paint without bonding primer, or just cheap/old paint. Fix the cause, scrape off bubbles, sand smooth, prime with the right primer, and repaint. Don’t paint over bubbles, they push through new coats.
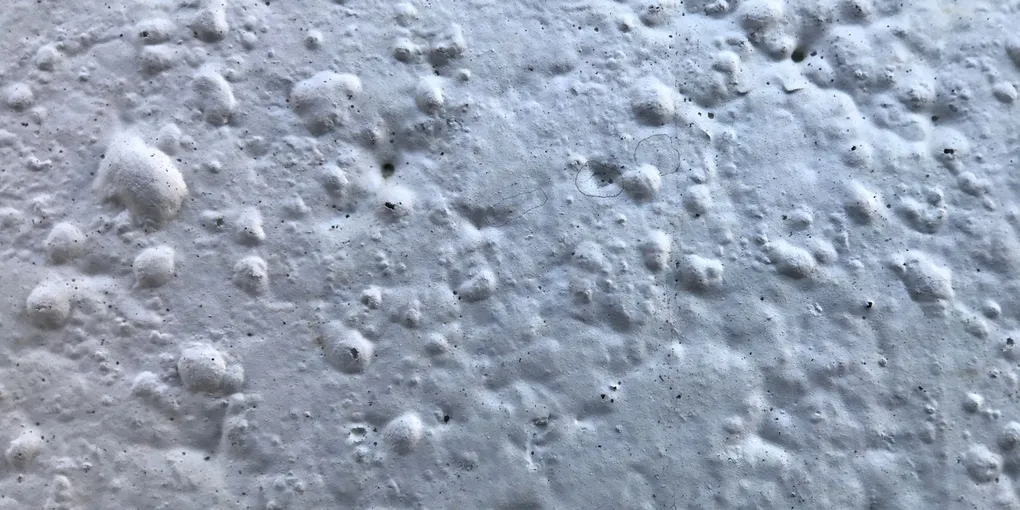
Paint bubbles look like they might flatten out on their own. They don’t. The welt gets drier, harder, more obvious. By the time someone decides to fix it, they’ve been staring at it for three days, and the lifted paint has cured in the wrong position. Pressing on the bubble doesn’t help. The bubble is dry. The paint around it is loose.
Paint bubbles are diagnostic. Each one is telling you something specific about what went wrong, and you can’t fix the next paint job until you read what this one is saying. There are six common stories, and they’re worth knowing not because you’ll ever have to memorize them but because the first time it happens to you, you want to be able to walk up to the wall and figure it out in two minutes.
The most common story is moisture. Something behind the drywall is wet, the paint sealed the surface, the moisture had nowhere to go, so it lifted the film off the wall. Bubbles from moisture show up within hours or days of painting. They cluster, usually near plumbing, on exterior walls, or below windows. The wall behind them often feels slightly damp or cool to the touch if you press through. If you pop one, you may see a darker, wetter spot underneath. The hard part of this fix isn’t the paint. It’s finding the leak. A small plumbing drip, a roof flashing letting water past, a window seal that’s been compromised for two years. Find the source, fix it, let everything dry to bone-dry (a moisture meter helps, but 30 days after the source is fixed is usually enough), then scrape, prime with a moisture-blocking primer like Zinsser BIN or Kilz Restoration, and repaint. Skipping the find-and-fix step means painting the wall again next month with the same bubbles.
The second story is dirty or glossy surface. Paint needs to grip what’s underneath it. If the previous coat was satin or gloss and nobody scuff-sanded, or if there’s a thin film of dust, hairspray, oil, or kitchen residue on the wall, the new paint sits on top of the residue and any flex underneath pushes it up. Bubbles from this cause usually appear over previously glossy painted walls and tend to peel in sheets rather than chip. Wipe the wall down. If it feels slick or oily, hit it with TSP or a strong all-purpose cleaner. Scuff-sand lightly with 220-grit. Then prime. Then paint.
The third story is the wrong primer (or no primer). This one is specific: it shows up only over drywall patches and freshly repaired areas, or new drywall. Joint compound and bare drywall paper absorb paint differently than the rest of the wall. Without primer to seal them, the topcoat dries unevenly and lifts. The fix is to sand the bubbled area, prime with the right primer for the substrate (PVA primer for fresh drywall, a stain-blocking primer like Zinsser Gardz over patches), and repaint. This is preventable: prime every patch, every time, no exceptions.
The fourth story is heat. Paint dries from the outside in. If the wall is too hot, from direct sun, a radiator nearby, a heater blowing on it, the surface dries before the layer underneath. The trapped wet paint then pushes the dry skin up as it tries to cure. These bubbles cluster on sun-hit walls or near heat sources. The surface sometimes looks wrinkled or “alligatored.” The fix is the same scrape-sand-prime-repaint sequence, plus next time paint that wall in cooler conditions or with the sun off it.
The fifth story is older and more specific: latex over oil. Latex and oil-based paints don’t bond chemically. If your wall has 1990s oil-based paint underneath and you painted latex on top without a bonding primer, the latex floats on top and lifts. This is more common in older houses. The diagnostic is a denatured alcohol test: soak a cotton ball, rub a small area of the wall. If paint comes off on the cotton, the topcoat is latex. If nothing comes off, you have oil paint underneath. The fix is a bonding primer specifically rated for oil-base, like Zinsser Cover Stain, then latex on top.
The sixth story is the simplest and most embarrassing: bad paint. Cheap bargain-brand paint has fewer solids and weaker binders. Old paint that’s been sitting on the shelf separates and may never properly recombine even with vigorous stirring. Bubbles from cheap or old paint appear all over the wall, not in clusters. The fix is buying real paint next time: Sherwin-Williams, Benjamin Moore, Behr Premium, anything mid-range or better. A gallon costs $40-60 vs $25 for bargain. Over the lifetime of a paint job, twenty bucks is nothing.
Fixing the bubbles you already have
The fix is the same regardless of which story is yours, with one exception: you have to address the underlying cause first. Otherwise you’re just repainting a wall that will bubble again.
Scrape the bubbled paint off with a putty knife. Get all the loose stuff, including the still-attached edges around each bubble, which are usually lifted even though they look attached. Sand the edges smooth so there’s no sharp transition between the bare spot and the surrounding paint. If scraping damaged the drywall paper or left visible divots, patch with joint compound, let dry, sand smooth. Prime the entire repaired area with the appropriate primer for the cause (moisture-blocking, bonding, stain-blocking). Then two thin coats of finish paint with proper drying time between, four hours minimum for latex.
If you don’t fix the underlying cause, every step above is wasted work. Find the leak. Wash the wall. Use the right primer. Paint in good conditions. Skip any one and you’ll be back here in three weeks.
Preventing the next round
The boring rules that actually matter:
Clean walls before painting. Dust, grease, residue. Wipe everything down. If the room has had cooking, smoking, or hair products in it, hit it with TSP cleaner.
Patch and prime first. Always. Even the patches you can barely see.
Wait between coats. Latex needs four hours minimum. Don’t trust the “30 minutes recoat” label on the can; that’s marketing, not chemistry.
Don’t paint in extreme conditions. Direct sun, high heat, or high humidity all cause failure modes. The conditions that produce a smooth, bubble-free finish are boring: 60-75°F, moderate humidity, decent airflow.
Stir paint well, especially if it’s been sitting. Pour it into a clean bucket and back into the can to fully mix the solids.
Use decent paint. A gallon of premium paint is $20 more than bargain and lasts roughly twice as long. The frustration cost of bubbling, repainting, and explaining it to your spouse is worth more than $20.
Paint bubbles are frustrating because they show up after you thought you were done. But they have a finite list of causes, every one of them diagnosable in two minutes if you know what to look for. Find the cause, fix the cause, then fix the paint. In that order.